
How to Draw a Basketball Like a Pro
Draw a basketball may seem simple, but creating realistic details requires careful steps. If you are a beginner or an experienced artist, these easy-to-follow instructions will guide you in mastering the art of drawing a basketball. Your basketball drawings will look lifelike with the right tools, techniques, and practice.
Tools and Materials You’ll Need to Draw a Basketball
Before proceeding, make sure you have the proper tools on hand. A few key items are essential to achieving great results.
- Pencils: Use an HB pencil for sketching outlines and a 2B for shading.
- Circular Object: If you don’t have a compass, a cup or lid can help you trace a perfect circle.
- Eraser: You’ll need a soft eraser to clean up mistakes and smooth lines.
- Markers or Colored Pencils: For final touches, coloring is optional but adds more detail.
With these materials ready, you can draw the basketball step by step.
Step-by-Step Guide to Drawing a Basketball
Let’s break down the process into simple steps so anyone can follow along.
Step 1 – Drawing the Perfect Circle

To begin, lightly sketch a clean circle. If you have a compass, use it to create an accurate shape. Alternatively, trace around a round object like a mug or plate. Keep your hand steady to avoid irregular shapes. The circle must be as perfect as possible, forming the basis of the entire basketball.
Step 2 – Adding the Vertical Lines

Once the circle is drawn, lightly sketch a curved vertical line down the middle. This line should bow outward, mimicking the panels on a real basketball. It’s crucial to keep the line balanced and centered within the circle.
Step 3 – Drawing the Horizontal Curved Lines

Now, add two horizontal lines across the ball, one above the center and one below. These lines should also curve gently to follow the basketball’sbasketball’s shape. Imagine how the ball’s surface wraps around its roundness. Ensure these lines intersect the vertical line you drew, creating the signature basketball panel pattern.
Step 4 – Completing the Ball’s Panels

With the main lines in place, your basketball drawing is nearly complete. Fine-tune the curved lines to ensure symmetry and accuracy. These panels define the ball’s unique look and are essential for a realistic finish. Keep your lines light until you’re satisfied with the proportions.
Adding Realism to Your Basketball Drawing
Now that you’ve outlined the basic structure, it’s time to bring your basketball to life by adding realistic details and customization.
Step 5 – Shading and Adding Texture

To make the basketball appear three-dimensional:
- Use shading techniques.
- Start by identifying your light source, then darken the opposite side of the ball.
- Apply gradual shading with your 2B pencil, focusing on the edges of the panels to give the ball depth.
Add highlights to represent reflected light, enhancing the ball’s roundness.
Step 6 – Customizing Your Basketball with Logos and Colors

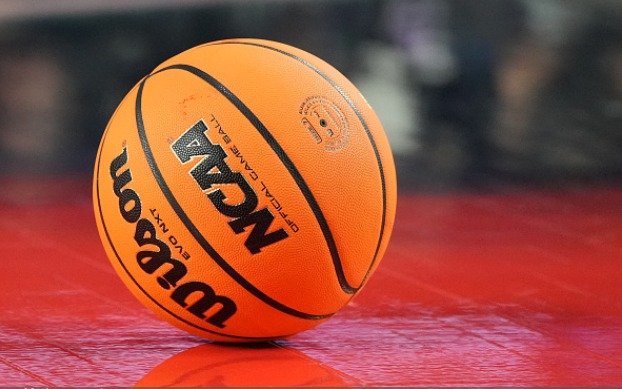
For a personalized touch, add brand logos, like Nike or Spalding, on the basketball. It makes the drawing more unique and professional. If you want to get creative, color the ball with traditional orange or experiment with fun, non-traditional shades like blue or green.
Read Also: Top 5 Basketball Courts Near Me
Advanced Drawing Techniques for Basketball Artists
If you’re looking to improve your basketball drawing, try these advanced techniques.
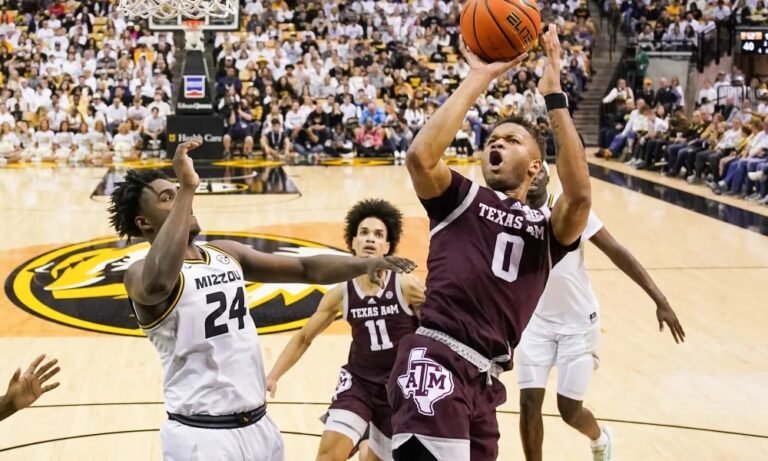
Drawing a Basketball in Motion
To depict the basketball in action, add motion lines around it. These lines create a sense of movement, making it appear like the ball is spinning or dribbling, and add energy and excitement to your artwork, especially in scenes featuring basketball games.
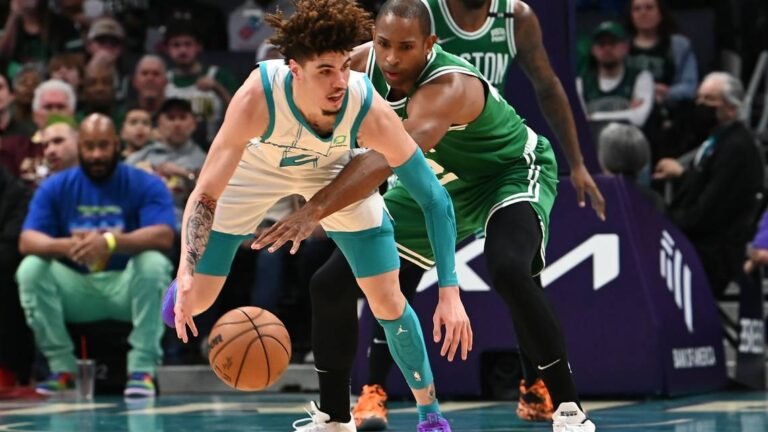
Drawing a Basketball Player Holding the Ball
Adding a player to your drawing adds context and realism. Focus on drawing the hands grasping the ball, paying attention to finger placement. It can enhance the overall dynamic and make your drawing look more professional. Remember to keep the proportions of the player and the ball accurate.
Avoiding Common Mistakes When Drawing a Basketball
Mistakes are common, but they can be easily avoided with practice. Here are some tips to prevent common errors:
- Irregular Circles: Use a compass or circular object to ensure precision.
- Misplaced Lines: Keep the panel lines symmetrical and evenly spaced.
- Over-Shading: Avoid using too much shading, as it can flatten the drawing instead of enhancing its depth.
Your basketball drawing will improve significantly by staying mindful of these common pitfalls.
Read Also: Kentucky Basketball Schedule 2024-25 Release Date
Conclusion
Drawing a basketball can be simple. By following these simple steps and adding personal touches, you can create a basketball that looks realistic and professional. Whether you’re you’re sketching for fun or as part of a project, practice will help you perfect your technique.
FAQs
Can I draw a basketball without using a compass?
Yes! For a clean circle, you can trace round objects like a cup or lid.
How can I make my basketball drawing more realistic?
Focus on adding shading and highlights to give it depth and texture.
What colors should I use for a basketball?
Traditional basketballs are orange, but feel free to get creative with other colors!
Is it difficult to draw a basketball player with the ball?
It can be challenging, but breaking it down into simple steps can help make it easier.
What should I do if I need to correct something while drawing?
Light pencil strokes and a soft eraser can help quickly fix mistakes without ruining the drawing.